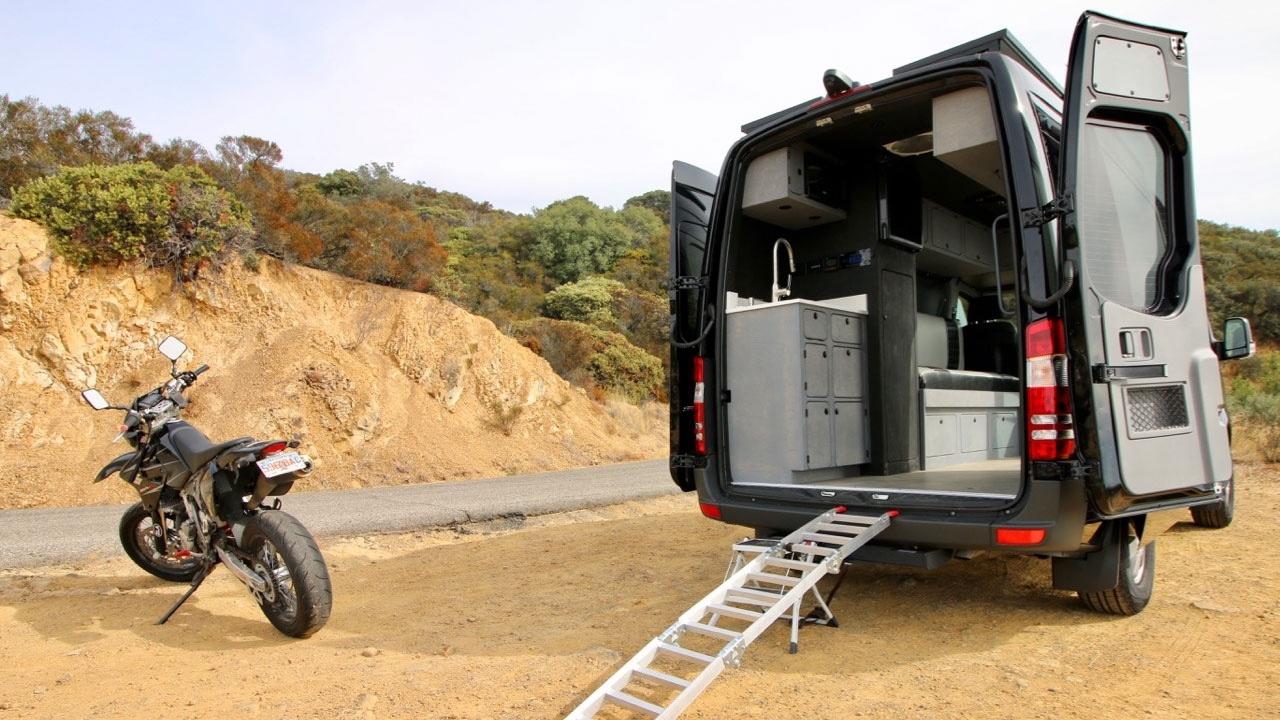
Mercedes Sprinter Van Converted into Camper with Motorcycle Inside

In 2017 I was hired out in Santa Barbara, California by a student of mine named Alex. He had purchased my online van conversion training, the Cargo Van Conversion Course, and wanted to know if I offered in-person help as well. I was able to fit it into my schedule so I headed out to the West Coast in May of 2017 and got started, with Alex assisting in the build and ordering whatever we needed online. Here's a look at the final result:
To show a bit more detail, here are pictures of some of the major features:

All closed up with the motorcycle inside, the van looks pretty nondescript.

The motorcycle tied down and ready to travel. Note the folded ramp behind the front wheel. You can also see some of the curved paneling tracing along the side door jamb.

With the motorcycle outside, the interior is very open and walkable.

Looking in at the bed area. Pains were taken to ensure the upper and lower cabinet doors lined up. The cushions were upholstered by Alex's mother Sandy after the bed frame was made. You can see more of her work covering the side window.

Even though the bed looks like the cabinets above, they are made differently. The face of the bed pulls out, leaving the doors behind. [Special thanks to Alex's Uncle Craig for making the bed to our size requirements. The front arrived blank and we carved out the doors to match our other cabinets].

This unique drawer matched the other drawer fronts of the kitchen cabinet, while also skirting around the sink. I have found that smaller storage areas warrant just as much effort and cost as the larger ones, as they are key to making vanlife work well. Note the even smaller storage spot to the left of this drawer.

Where the interior paneling met the rear doors, this U-shaped rubber edging was used to help our work blend with the factory finishes.

The electrical system under the bed. The smaller yellow inverter is used for smaller loads, while the larger gray inverter runs things like the air conditioner. They are sized for what they'll be running to minimize efficiency losses and maximize solar and battery performance.

The solar panels were selected mainly for their ability to fit in the spaces left over after installing the air conditioner and vent fan. Custom cross rails secured the panels to the Sprinter's handy roof tracks.

One of two control centers on the "closet tower." The unrelated components were made to look more like they belong together by aligning them on a center line.


